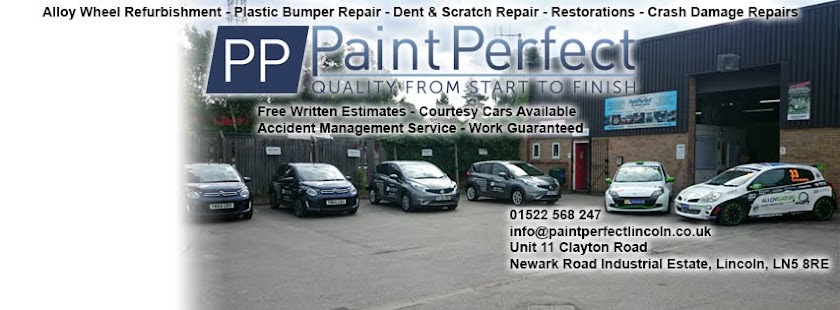
The
Paint Perfect Alloy Wheel Repair Process

Our 18
point full refurbishment service is the best way to restore your
alloy wheels to factory finish and give a long lasting and durable
finish. This method is also ideal for enhancing the appearance of
your vehicle by changing the colour of the alloys.
- The vehicle is brought into one of our secure, alarmed workshops and put on axle stands. The wheels are then removed.
- The inflated tyres are checked for leaks and bulges in the sidewall.

- The centre caps and spigot rings are removed, inspected for damage and stored.
- The tyre is then removed and checked for wear, foreign objects and damage.
- The valve and weights are then removed.
- The wheels are checked for buckles and flat spots. These can be repaired on our hydraulic wheel straightening rig.

- The wheels are then immersed in a chemical bath to remove paint, powder coat, brake dust and corrosion. This process can vary in time depending on the coating on the wheels. In some cases this can take up to six hours. The chemical bath is the best way to get the wheels back to bare aluminium as media blasting can be too aggressive and leave a pitted surface. Blasters that are recycling their media and using the same equipment for aluminium and steel can also impregnate the wheel with tiny pieces of steel. This cross contamination can accelerate corrosion in the wheel.

- Once removed from the tank the wheels are then neutralised in a water bath and jet washed clean.
- Once dried the wheels are inspected for cracks and other damage that would require TIG welding.
- The wheels are then hand sanded to remove kerb damage and other imperfections in the surface.
- Etch primer is then applied inside and out followed by high build primer.
- After the primer has been cured on a bake cycle it is sanded down by hand ready for paint.
- Base coat is then applied inside and out followed by 2K high solids solvent clear coat and then cured on a bake cycle.

- Once fully dry new valves are fitted and then the tyres are put back on the rims and inflated to manufacturer's recommended pressure.
- Spigot rings are refitted where appropriate and each wheel is balanced.

- The wheels are refitted to the vehicle and torqued to manufacturers specification. We do not fit wheel bolts using an impact gun as this can over tighten and stress the bolts leading to failure. It also can cause damage to locking wheel nuts.
- We refit the centre caps and lower the car off the axle stands.
- The vehicle is then given a complementary wash & mini valet.


We have
seen wheel “refurbishments” where the tyre is left on the wheel,
in some cases the wheel is not even removed from the vehicle! This
approach can lead to a number of problems including;
- Poor adhesion – Without the tyre being removed the wheel cannot be keyed properly and the new paint starts to peel off from the edges.
- Excessive film thickness – The more paint build up there is on the wheel the more prone it is to chipping.
- Pressure loss – If the tyre is left fitted the inside of the wheel cannot be inspected and treated. Corrosion forming between the wheel and tyre bead is a common cause of pressure loss.
- Reactions – We have seen paint finishes with reactions from over painting a previously refurbished wheel or silicone reactions from tyre dressing.
Saving a
small amount of money in the short term will be a false economy in
the long run.